Writing
Image Processing and Data Augmentation
Preface: when training models with CNNs, images usually need preprocessing — sometimes called data augmentation. Common Python libraries include OpenCV, PIL, matplotlib, and TensorFlow. This article uses TensorFlow to walk through image processing.
Preface: when training models with CNNs, images usually need preprocessing — sometimes called data augmentation. Common Python libraries for image processing include OpenCV, PIL, matplotlib, TensorFlow, and others. Here we use TensorFlow to introduce the image processing workflow.
Image Processing
- Display an image. Images must be decoded before display; use
tf.image.decode_png. First define an image display function:
import numpy as np
import tensorflow as tf
import matplotlib.pyplot as plt
def show_image_tensor(image_tensor):
    #使用交互式回话
    image = image_tensor.eval()
    print("图片的大小为:{}".format(image.shape))
    if len(image.shape)==3 and image.shape[2]==1:
        plt.imshow(image[:,:,0],cmap="Greys_r")
        plt.show()
    elif len(image.shape)==3:
        plt.imshow(image)
        plt.show()
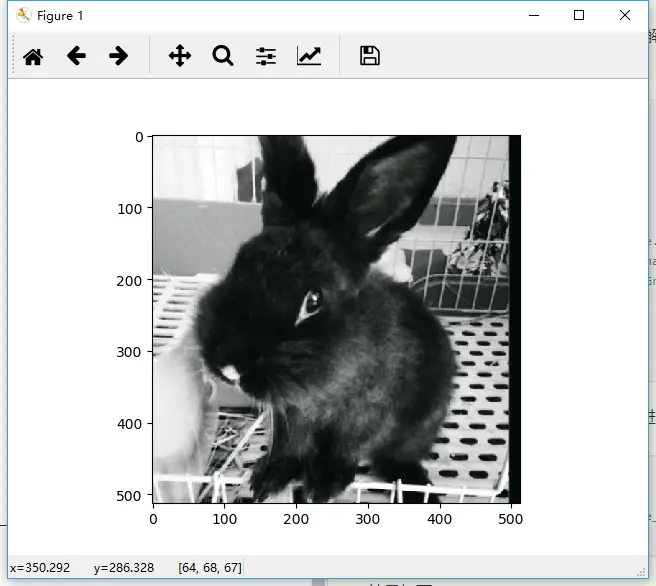
Read, decode, and display the image:
#1读取、编码、展示
file_content=tf.read_file(image_path)
image_tensor = tf.image.decode_png(file_content,channels=3)
show_image_tensor(image_tensor)
Result: image size: (512, 512, 3)
- Resize — shrink or enlarge. Use
tf.image.resize_images:
"""
BILINEAR = 0 线性插值,默认
NEAREST_NEIGHBOR = 1 最近邻插值,失真最小
BICUBIC = 2 三次插值
AREA = 3 面积插值
# images: 给定需要进行大小转换的图像对应的tensor对象,格式为:[height, width, num_channels]或者[batch, height, width, num_channels]
# API返回值和images格式一样,唯一区别是height和width变化为给定的值
"""
resize_image_tensor = tf.image.resize_images(images=image_tensor,size=(20,20),
                                             method=tf.image.ResizeMethod.NEAREST_NEIGHBOR)
show_image_tensor(resize_image_tensor)#注意前面进行解码的时候一定要用tf.image.decode_png
Result: image size: (20, 20, 3)
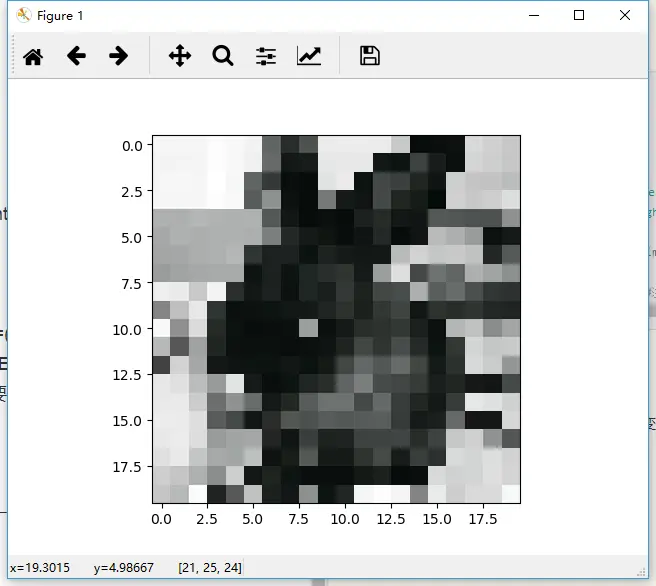
Note: when enlarging, the image is nearly distortion-free.
- Crop or pad with
tf.image.resize_image_with_crop_or_pad:
# 图片重置大小,通过图片的剪切或者填充(从中间开始计算新图片的大小)
corp_pad_image_tensor = tf.image.resize_image_with_crop_or_pad(image_tensor,300,300)
show_image_tensor(corp_pad_image_tensor)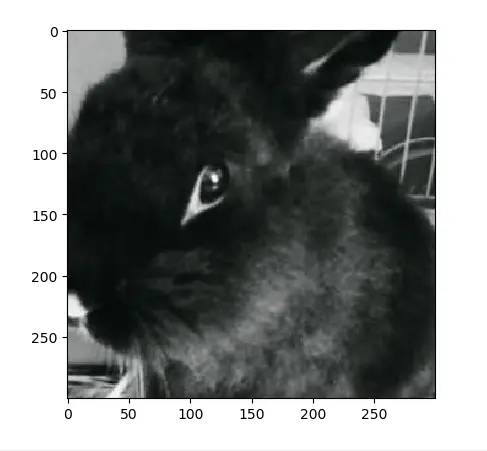
The above crops or pads from the center. Below: crop or pad at arbitrary positions.
# 填充数据(给定位置开始填充)
pad_image_tensor = tf.image.pad_to_bounding_box(image=image_tensor, offset_height=200, offset_width=50,
                                                target_height=1000,target_width=1000)
# show_image_tensor(pad_image_tensor)
corp_to_bounding_box_image_tensor=tf.image.crop_to_bounding_box(image=image_tensor, offset_height=20, offset_width=50,
                                                target_height=300,target_width=400)
show_image_tensor(corp_to_bounding_box_image_tensor)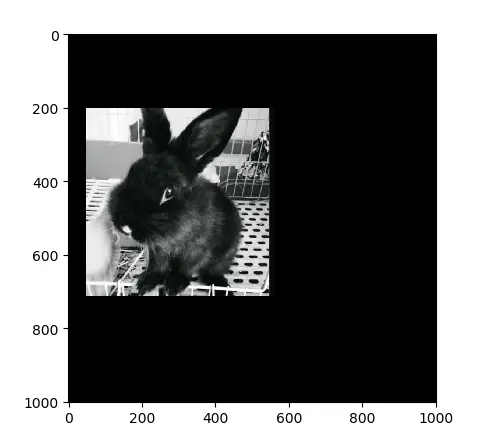
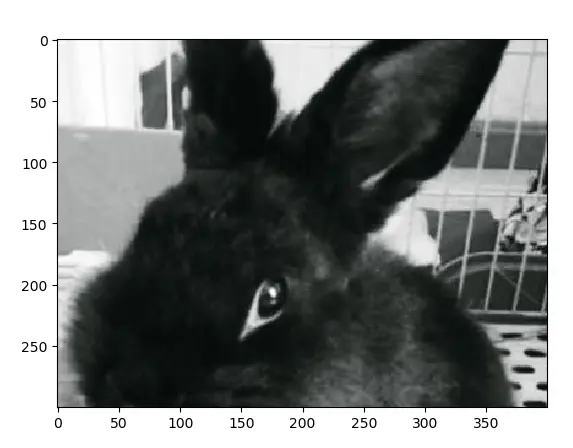
This lets you extract arbitrary regions from an image.
The following operations fall under data augmentation.
Data Augmentation
When training data is limited, you can apply transformations to existing training images to generate new samples and expand the training set. Common augmentation methods include:
- Mirroring and flipping. For example, with a vertical plane as the axis of symmetry:
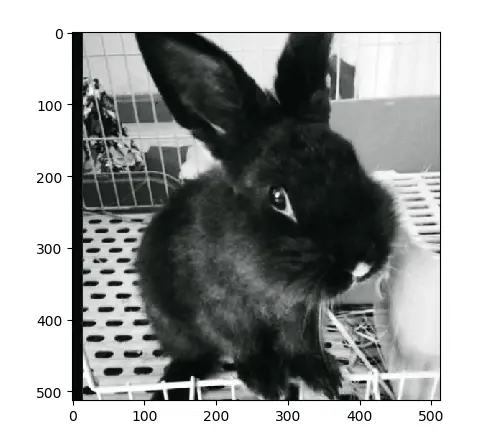
Code:
# 上下交换
filp_up_down_image_tensor = tf.image.flip_up_down(image_tensor)
# show_image_tensor(filp_up_down_image_tensor)
filp_left_right_image_tensor = tf.image.flip_left_right(image_tensor)
show_image_tensor(filp_left_right_image_tensor)
With a horizontal plane as the axis of symmetry:
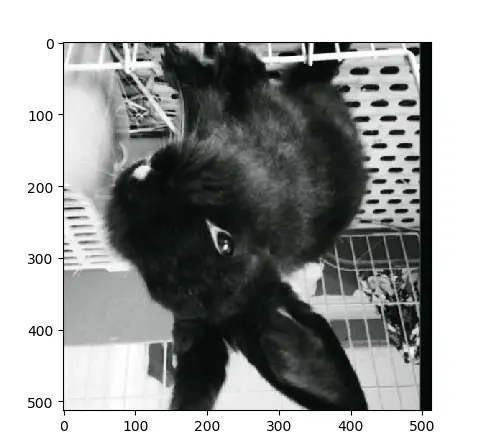
Transpose — equivalent to a matrix transpose, a 90° rotation:
# 转置
transpose_image_tensor = tf.image.transpose_image(image_tensor)
# show_image_tensor(transpose_image_tensor)

# 旋转(90度、180度、270度....)
# k*90度旋转,逆时针旋转
k_rot90_image_tensor = tf.image.rot90(image_tensor, k=4)
# show_image_tensor(k_rot90_image_tensor)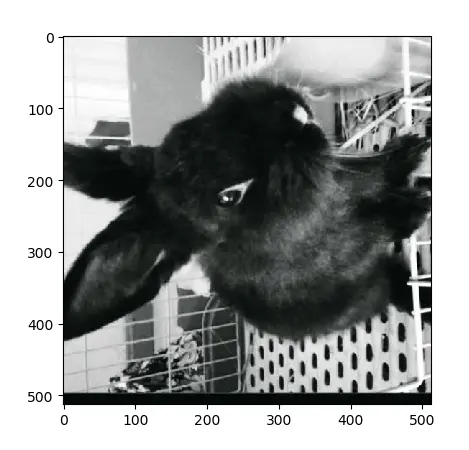
Color Space Conversion
Note: color space conversion requires converting image values to float32; uint8 cannot be used directly.
Basic image formats: RGB (color, 0–255; three 255s yield white; converting to float32 maps the range to 0–1); HSV (h: hue, s: saturation, v: brightness); grayscale.
# 颜色空间的转换必须讲image的值转换为float32类型,不能使用unit8类型
float32_image_tensor = tf.image.convert_image_dtype(image_tensor, dtype=tf.float32)
# show_image_tensor(float32_image_tensor)
# rgb -> hsv(h: 图像的色彩/色度,s:图像的饱和度,v:图像的亮度)
hsv_image_tensor= tf.image.rgb_to_hsv(float32_image_tensor)
show_image_tensor(hsv_image_tensor)
# hsv -> rgb
rgb_image_tensor = tf.image.hsv_to_rgb(float32_image_tensor)
# show_image_tensor(rgb_image_tensor)

# rgb -> gray
gray_image_tensor = tf.image.rgb_to_grayscale(rgb_image_tensor)
show_image_tensor(gray_image_tensor)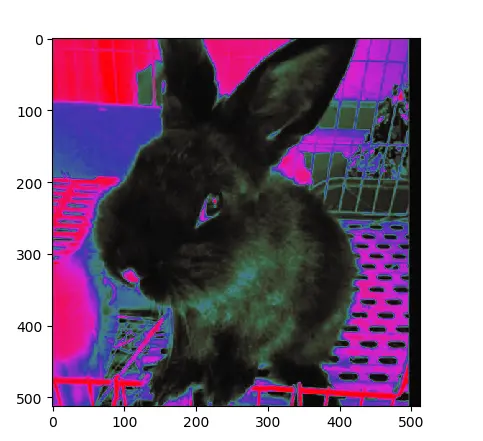
- You can extract contour information from the color space (image binarization):
a = gray_image_tensor
b = tf.less_equal(a,0.4)
# 0是黑,1是白
# condition?true:false
# condition、x、y格式必须一模一样,当condition中的值为true的之后,返回x对应位置的值,否则返回y对应位置的值
# 对于a中所有大于0.4的像素值,设置为0
c = tf.where(condition=b,x=a,y=a-a)
# 对于a中所有小于等于0.4的像素值,设置为1
d= tf.where(condition=b,x=c-c+1,y=c)
show_image_tensor(d)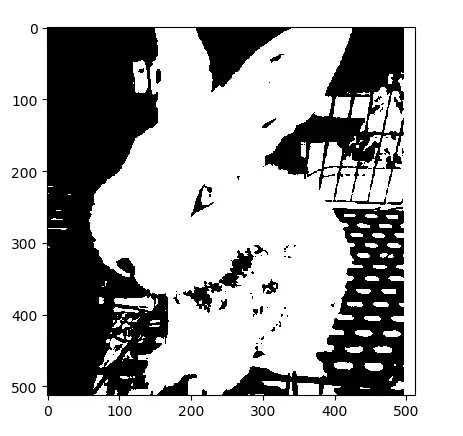
This approach can be used in license plate recognition to automatically crop plates.
- Image adjustment (brightness, contrast, gamma, normalization). Brightness adjustment:
imageis RGB;floatanduint8behave differently —floatis generally recommended.delta: a float in (-1, 1) controlling dimming or brightening. Under the hood: rgb → hsv → h, s, v×delta → rgb. Hue and saturation work similarly.
adiust_brightness_image_tensor = tf.image.adjust_brightness(image=image_tensor, delta=-0.8)
# show_image_tensor(adiust_brightness_image_tensor)
# 色调调整
# image: RGB图像信息,设置为float类型和unit8类型的效果不一样,一般建议设置为float类型
# delta: 取值范围(-1,1)之间的float类型的值,表示对于色调的减弱或者增强的系数值
# 底层执行:rgb -> hsv -> h*delta,s,v -> rgb
adjust_hue_image_tensor = tf.image.adjust_hue(image_tensor, delta=-0.8)
# show_image_tensor(adjust_hue_image_tensor)

# 饱和度调整
# image: RGB图像信息,设置为float类型和unit8类型的效果不一样,一般建议设置为float类型
# saturation_factor: 一个float类型的值,表示对于饱和度的减弱或者增强的系数值,饱和因子
# 底层执行:rgb -> hsv -> h,s*saturation_factor,v -> rgb
adjust_saturation_image_tensor = tf.image.adjust_saturation(image_tensor, saturation_factor=20)
show_image_tensor(adjust_saturation_image_tensor)
# 对比度调整,公式:(x-mean) * contrast_factor + mean(小的更小,大的更大)
adiust_contrast_image_tensor=tf.image.adjust_contrast(images=image_tensor, contrast_factor=1000)
show_image_tensor(adiust_contrast_image_tensor)
# 图像的gamma校正
# images: 要求必须是float类型的数据
# gamma:任意值,Oup = In * Gamma只要不是白色,都加深
adjust_gamma_image_tensor = tf.image.adjust_gamma(float32_image_tensor, gamma=10)
# show_image_tensor(adjust_gamma_image_tensor)
# 图像的归一化(x-mean)/adjusted_sttdev, adjusted_sttdev=max(stddev, 1.0/sqrt(image.NumElements()))
# per_image_standardization_image_tensor = tf.image.per_image_standardization(image_tensor)
# show_image_tensor(per_image_standardization_image_tensor)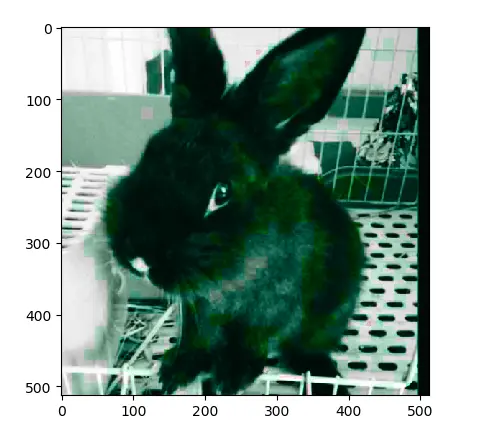
Adding Noise
Gaussian noise and blur:
# noisy_image_tensor = image_tensor + tf.cast(50 * tf.random_normal(shape=[512, 512, 3], mean=0, stddev=0.1), tf.uint8)
noisy_image_tensor = image_tensor + tf.cast( tf.random_uniform(shape=[512, 512, 3],
                   minval=60,
                   maxval=70), tf.uint8)
show_image_tensor(noisy_image_tensor)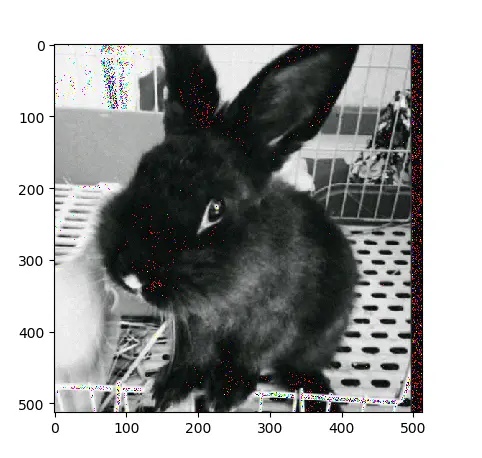
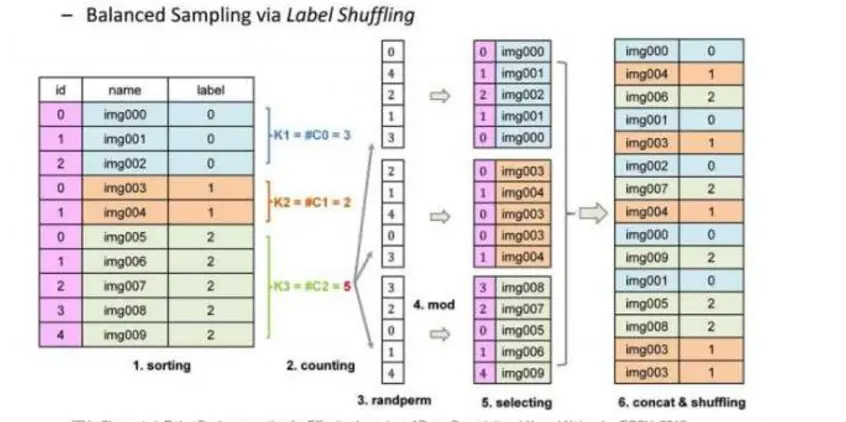
Class Imbalance
Class imbalance means some categories have far more images than others. A common remedy is label shuffle. The steps are illustrated below: first randomly draw indices for the largest class, with as many groups as there are labels; then take modulo within each label’s samples and map to images by index; the final sample set has equal counts per class.